Hey everyone! I've been grinding Valorant for years, and Ascent still remains one of my favorite, yet most complex, maps. Even in 2026, mastering its unique layout is key to ranking up. It's a defender's paradise, no doubt, but that just means attackers need to be smarter, right? Let me break down everything I've learned to dominate this Italian-inspired battleground.
The Heart of the Matter: MID CONTROL IS EVERYTHING 🎯
Seriously, can we talk about how crucial the middle area is? It's the map's giant, open-air piazza where games are won or lost. Controlling Mid gives you the power to rotate quickly to either site and cut off the enemy's movements. Think about it – why do pro teams fight so hard for it every round? Because the team that dominates Mid dictates the pace of the entire match. Rotations are painfully slow on Ascent, so if you own Mid, you can collapse on a site before the enemy team can even react.
Defending Ascent: A Calculated Hold 🛡️
Setting Up Your Defense
A solid default setup is your best friend. Here's how my squad likes to play it:
Standard Mid Setup:
-
1 Player on Catwalk: Acts as the early warning system and can peek into Mid or rotate to help A.
-
2 Players in Mid Market/Bottom Mid: This duo holds the ground level and watches the main Mid entrance. Their job is to gather info and decide whether to push forward or fall back.
Pro Tip: If the attackers smoke off Mid, your Catwalk player should absolutely drop down to help hold the line. Patience is key here – waiting for the enemy to make the first move often leads to easy picks.
Holding the Sites
B Site: The Fortress
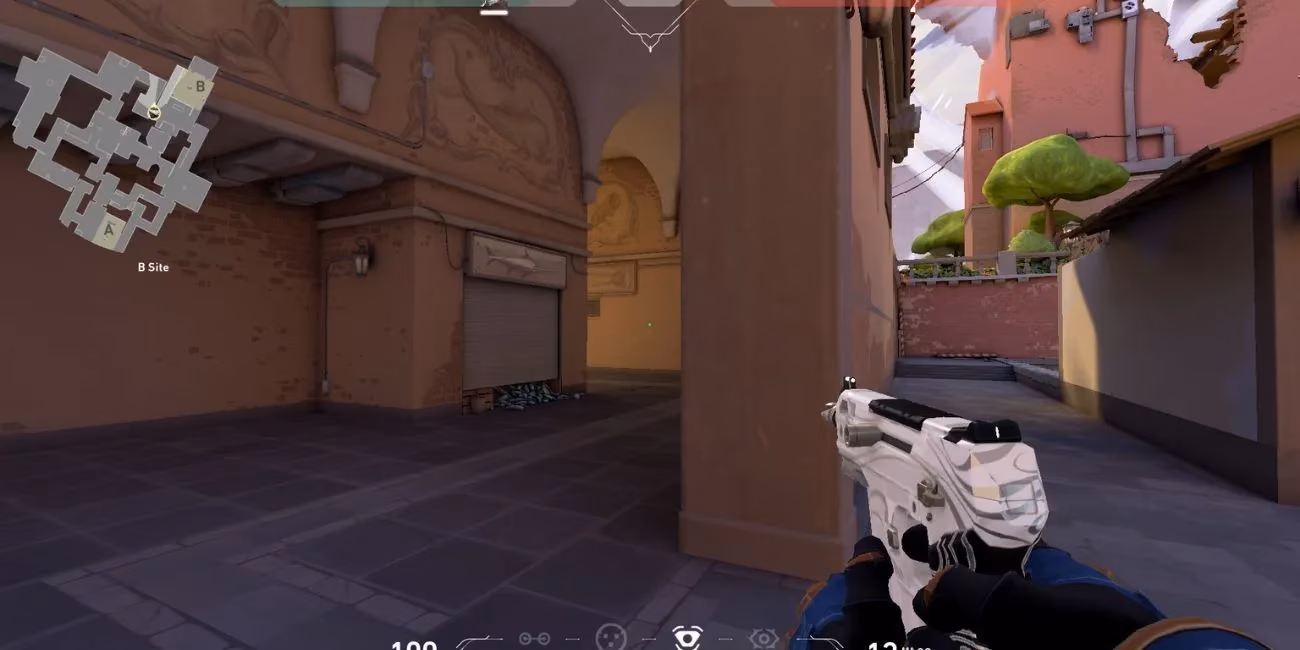
B is notoriously hard to attack. Your goal? Control B Main. Agents like Cypher and Sage are absolute legends here. A well-placed Cage or Wall can completely shut down the main choke point. Usually, one dedicated player is enough to hold B. Their mission isn't to wipe the whole team, but to delay, delay, delay! Hold angles, use utility to slow the push, and wait for reinforcements from Mid or Catwalk to flank the attackers.
A Site: The Open Plaza

A Site is wide open with tons of little cubbies and boxes to hide behind. Sound familiar? The strategy is similar: gather info and hold angles. One player can often hold it down, but don't be afraid to have your Catwalk player swing over to help if you hear a big push. Attackers can't clear every single angle every single round – use that to your advantage!
Attacking Ascent: The Art of the Split Push ⚔️
Okay, attacking here is tough, but not impossible. It's all about creating pressure and exploiting the map's size.
The General Game Plan
You typically want to pressure both sites to stretch the defense thin. A common and effective formation is the 3-2 split.
-
Three players push through A Main.
-
Two players push through Mid and up Catwalk to attack A from the side.
Crucial Step: Before those two players commit to Catwalk, you MUST smoke off Mid. Otherwise, defenders sitting in Market or Bottom Mid will have a free shot at your team's flank.
Executing Site Takes
Attacking B Site: The Early Rush
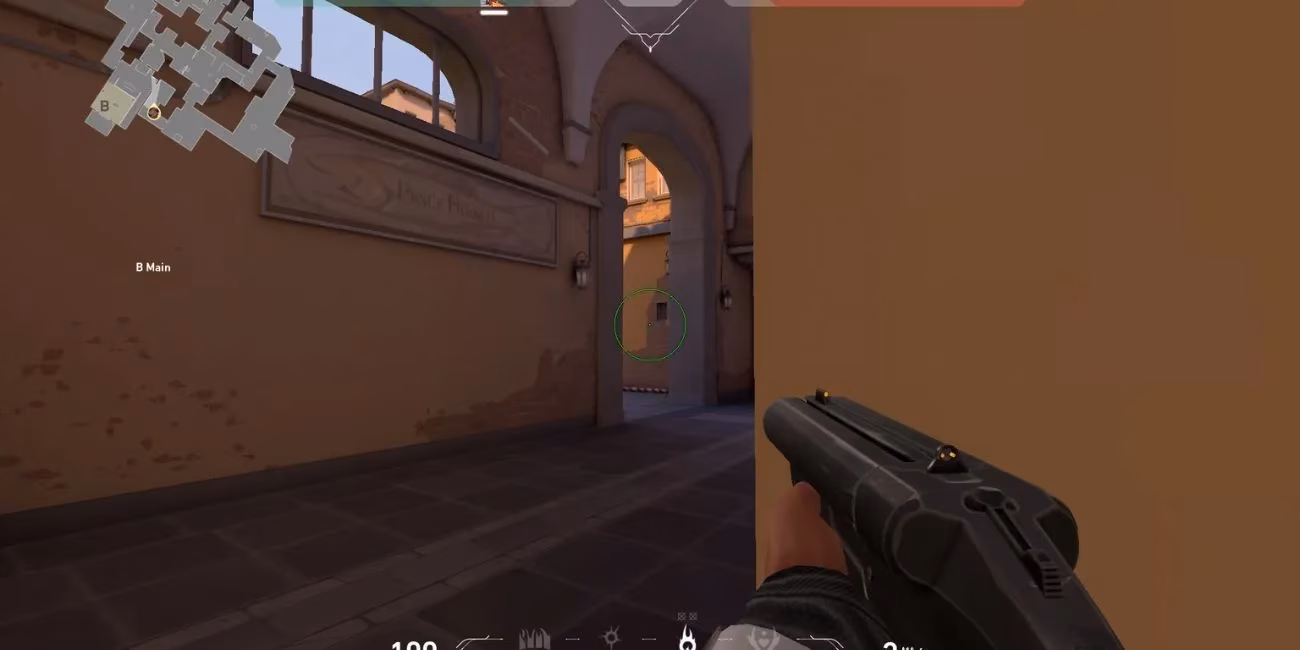
Here's a spicy tactic: an early, aggressive push through B Main. Since B is often held by just one defender, getting an early pick can be game-changing. If you snag that first kill, commit immediately! Plant the spike. Rotating from the other side of the map takes forever on Ascent, making retakes incredibly difficult for the defenders. Alternatively, you can take control of Mid first and then swing into B through the Market entrance for a sneaky flank.
Attacking A Site: The Pincer Movement
The key is simultaneous pressure. Your A Main group and your Catwalk group need to hit at the same time to split the defender's attention. Duelists like Phoenix or Reyna are perfect for leading the charge into A Main, while others use smokes and flashes to secure Catwalk. Once you plant on A, it becomes a defender's nightmare to retake, thanks to all the cover and angles.
Secret Weapons & Agent Picks 🤫
The Mysterious Metal Doors
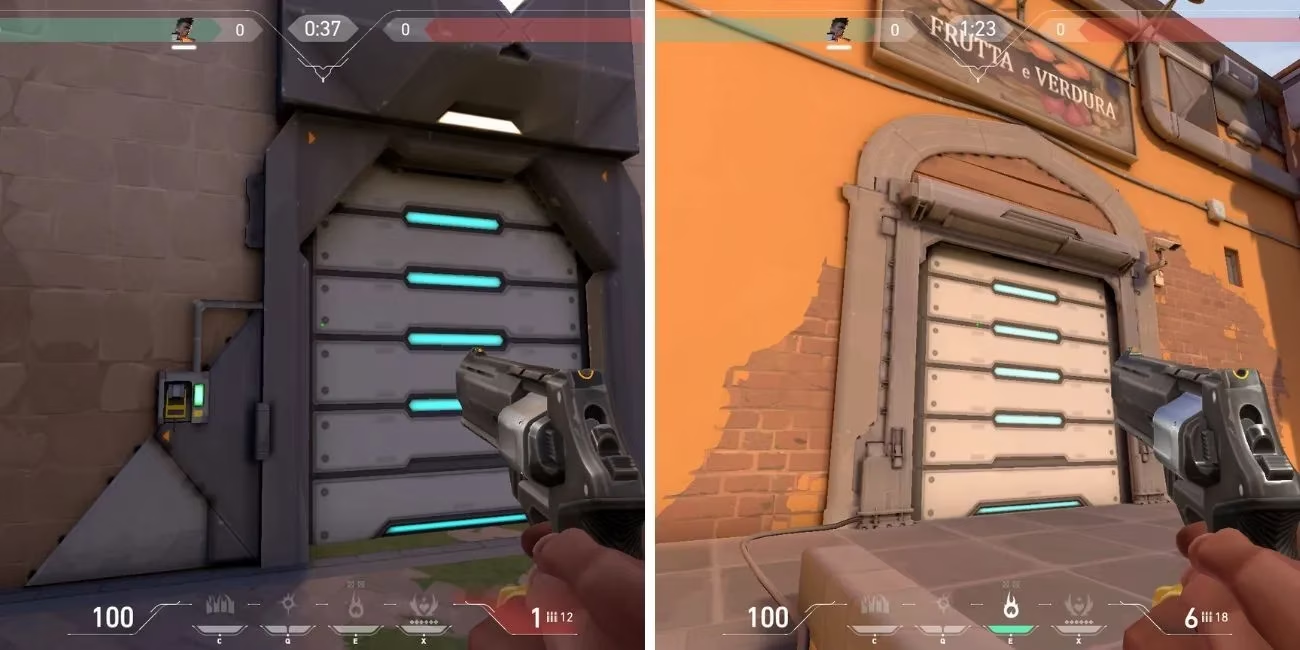
Did you know about these? There's one metal door near A and one near B. Hitting the switch closes them! This is HUGE for:
-
Defenders: Shutting down an enemy push instantly or delaying a retake.
-
Attackers: Securing the site after a plant to block off a retake route.
Remember, they can be shot open, but it takes time and makes noise!
Top-Tier Agent Picks for Ascent
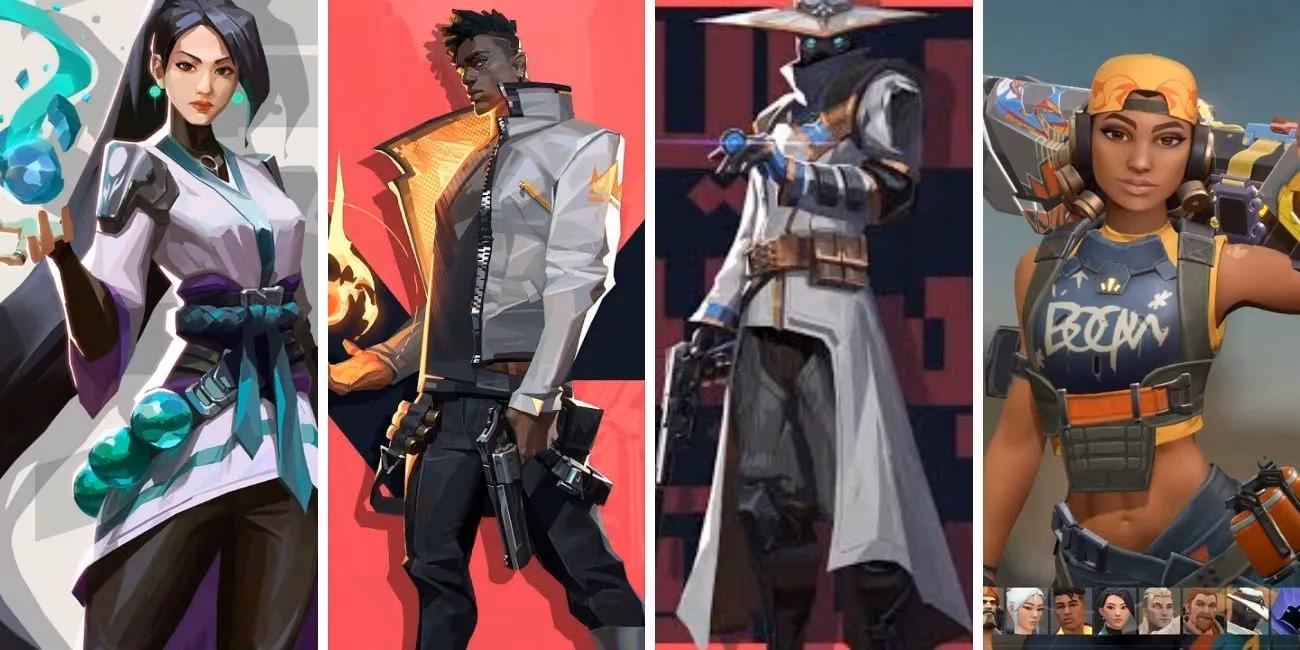
Some agents just feel like they were made for this map.
-
Solo Holders: Cypher and Sage are S-tier for holding down sites, especially B.
-
Duelist Power: Phoenix, Raze, and Reyna excel at controlling Mid and creating space for your team with their aggressive kits.
-
The Dark Horse: Omen. His teleport lets him reach sneaky high ground spots (like the boxes on A site) that no one else can, giving you an insane angle advantage.
Don't Forget the Resources! 💎
Ultimate Orbs – The Game Changers
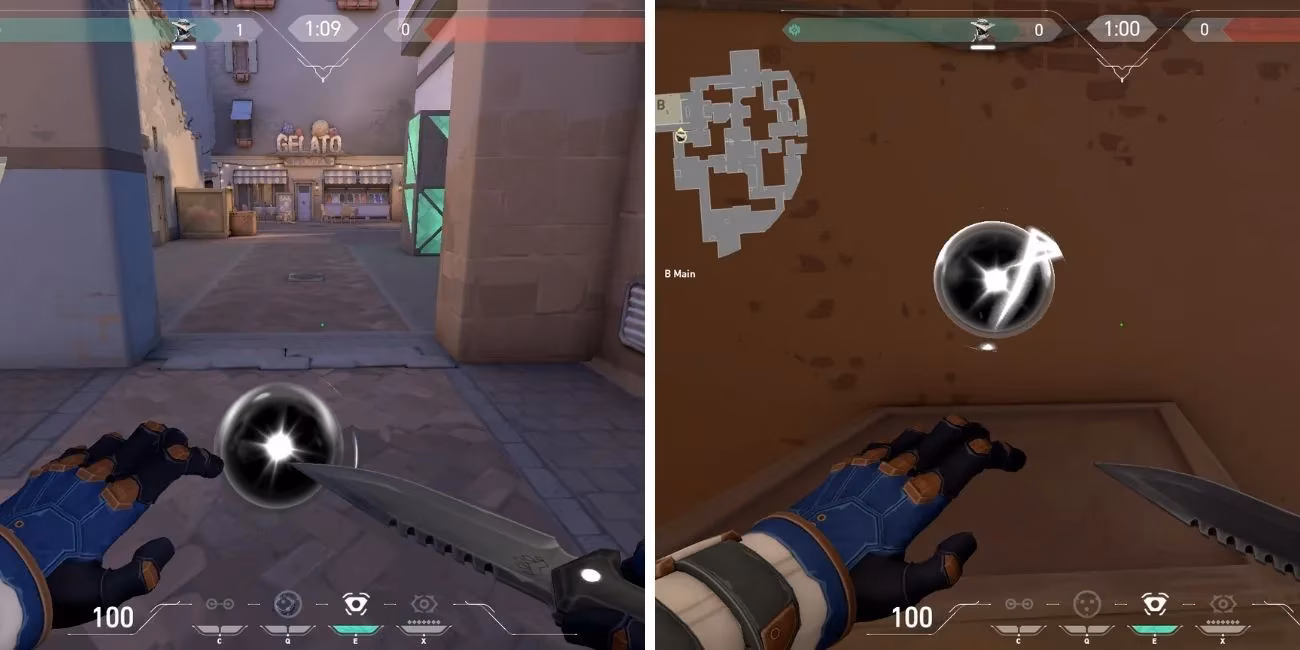
There are TWO Ultimate Orbs on Ascent. Getting these can be the difference between winning and losing a clutch round.
-
B Main Orb: Slightly easier for defenders to grab, but attackers should always contest it.
-
A Main Orb: More accessible for attackers pushing out of A Main.
Fight for these every round! An extra ultimate point on your Sova, Breach, or Brimstone can win you the game.
Final Thoughts & Mid Control (Yes, Again!)
I know I'm repeating myself, but it's that important. Mid control is the golden rule of Ascent. Whether you're attacking or defending, your team's focus should always be on controlling that central courtyard. It's the highway to both sites. The team that commands Mid has faster rotations, more information, and ultimately, more options. So next time you queue up for Ascent, ask your team: "What's our Mid plan?" It might just be the most important question of the game. Good luck, and see you in Radiant! 💥